Watermark on a 360 spin
Sirv can quickly add image watermarks to your 360 spins, zooms or static images.
The step-by-step tutorial below shows you how.
Compare these two spins, with and without a watermark:
The watermark was added by simply choosing some settings in a profile and appending the profile name to the end of the URL, like so:
- Before: https://demo.sirv.com/boot.spin
- After: https://demo.sirv.com/boot.spin?profile=logo-on-spin
Watermark tutorial
- Upload your watermark image to your Sirv account. It can be saved in any folder of your account. (New users can create a Sirv account).
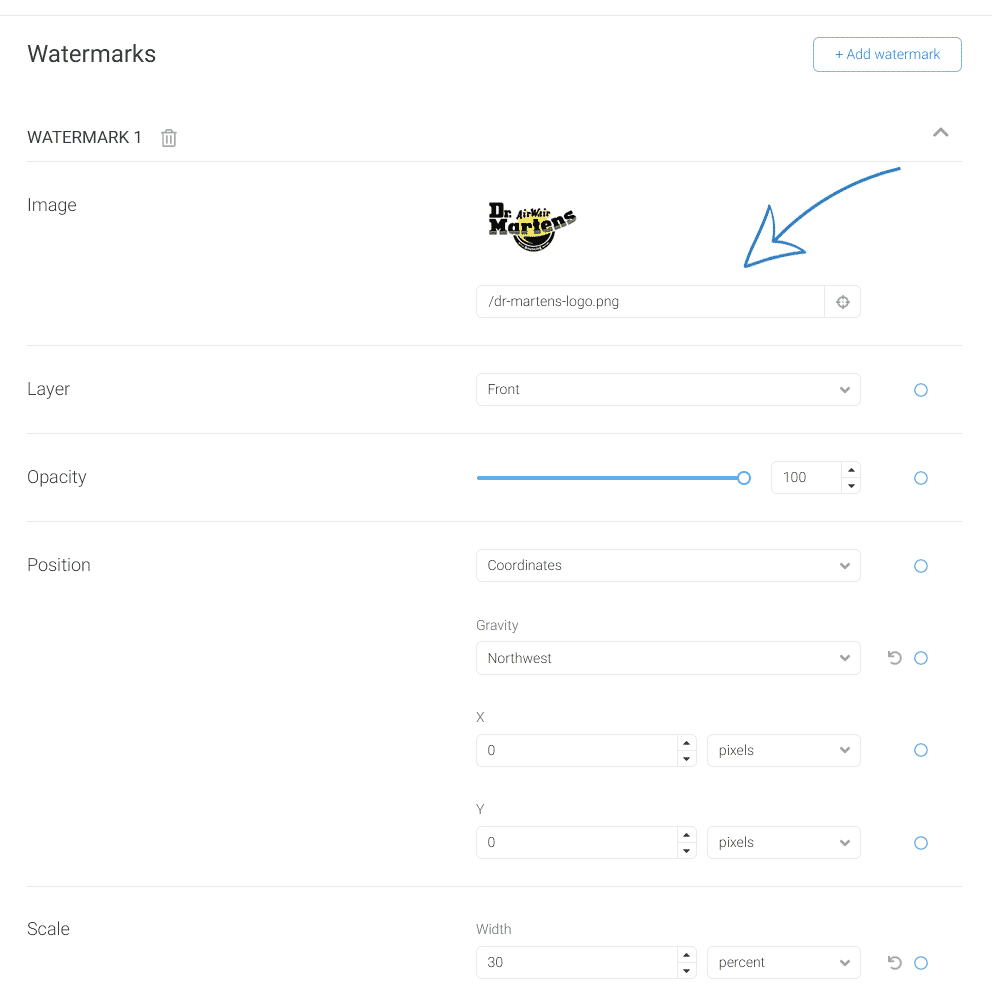
This is the watermark used in the demo (a transparent PNG):
- Go to your Profiles folder and click "New Profile".
- Give your profile a descriptive name that you'll recognize and click "Create".
- Select a spin to preview. The preview automatically updates after changing options.
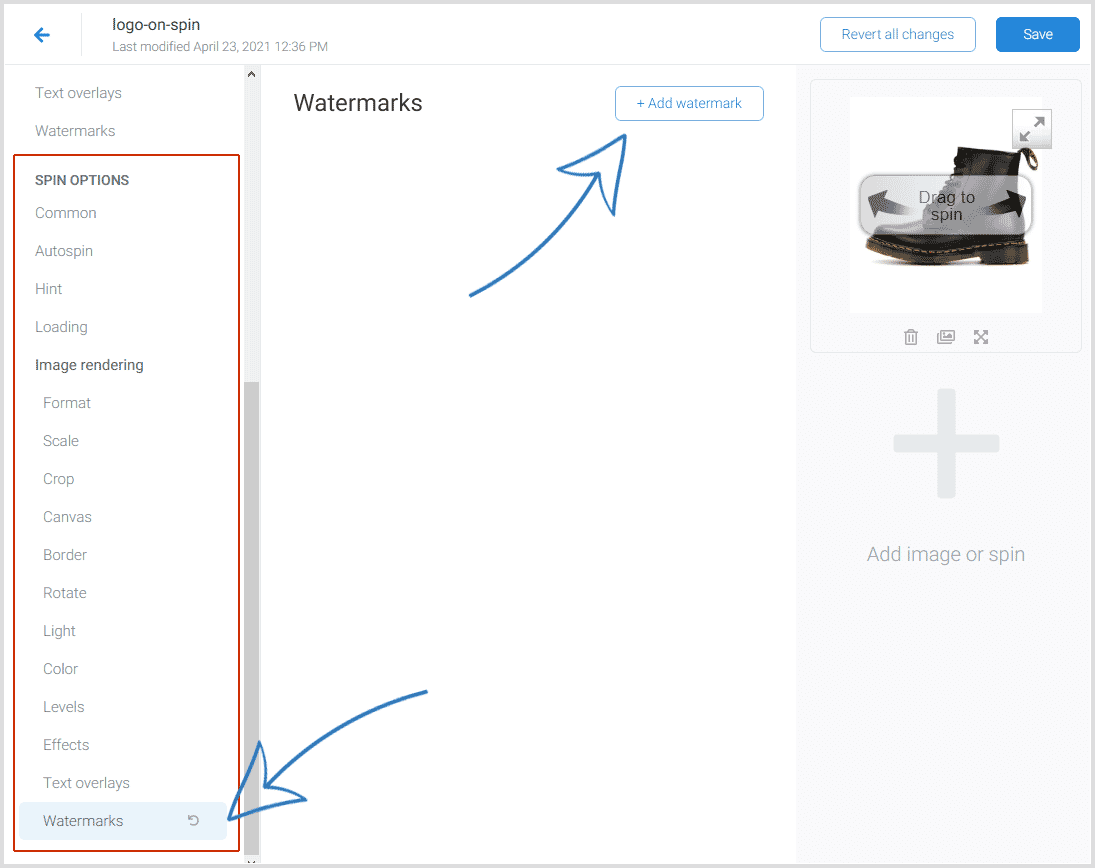
- Navigate to Spin Options -> Watermarks and click "New". You can apply up to 4 different watermarks on the image.
- Select the watermark image in your Sirv account and apply any other options you wish, such as position, scale and opacity.
- Save your options and the profile will be ready to use.
- Apply the profile to a spin by appending ?profile=name-of-your-profile to the spin. In the demo above, the URL is:


https://demo.sirv.com/boot.spin?profile=logo-on-spin
Watermarking methods
Watermarks can either applied with the method above or in a spin file by clicking the "Edit" button next to the spin. There is an important difference:
- Spin - settings applied in a .spin file are applied only to that spin.
- Profile - settings applied via a .profile are applied to any spins which reference that profile.
In most cases, the best method is to create a profile. It gives you control to manage lots of spins from one single place. You can quickly make changes to your watermark and they are applied immediately to every spin that references that profile.

