Pre-signed URLs to upload/download files
Sirv provides multiple ways to protect your files, including JWT signed URLs with Sirv's REST API or pre-signed URLs using the Sirv S3 API. This page describes how to use pre-signed URLs.
Choose the best API for your needs
Before using S3 pre-signed URLs as described below, consider using Sirv's REST API. It is usually faster to use and it provides more than 50 common commands for managing your files, including upload, download, delete, rename, move, copy, add meta and search.
What are pre-signed URLs?
Pre-signed URLs are special URLs that give access to a file for a temporary period to anyone you share the URL with. These URLs can be embedded in a web page or used in other ways to allow secure download or upload files to your Sirv account, without sharing your S3 login credentials.
Pre-signed URLs are easily created on the Sirv backend, containing a signature for validation and optionally an expiry time. These 'signature' and 'expires' fields validate the URL on the Sirv platform, so that you're certain the URL is trusted.
Creating an S3 pre-signed URL
You can generate pre-signed URLs using any of the AWS SDKs.
The following code snippet uses the AWS SDK for JavaScript to generate a URL with no expiry, using your Sirv S3 keys:
var AWS = require('aws-sdk');

AWS.config.update({
  accessKeyId: 'ENTER_YOUR_SIRV_S3_ACCESS_KEY_HERE',
  secretAccessKey: 'ENTER_YOUR_SIRV_S3_SECRET_KEY_HERE'
});

var s3 = new AWS.S3({
  endpoint: new AWS.Endpoint('https://s3.sirv.com'),
  s3ForcePathStyle: true
});

s3.getSignedUrl('putObject', {
  Bucket: 'ENTER_YOUR_SIRV_S3_BUCKET_HERE',
  Key: 'example.jpg'
}, function (err, url) {
  console.log(err, url);
});
The script uses s3ForcePathStyle: true to prevent an SSL certificate error.
The following code snippet adds an expiry time of 60 seconds:
var AWS = require('aws-sdk');

AWS.config.update({
  accessKeyId: 'ENTER_YOUR_SIRV_S3_ACCESS_KEY_HERE',
  secretAccessKey: 'ENTER_YOUR_SIRV_S3_SECRET_KEY_HERE'
});

var s3 = new AWS.S3({
  endpoint: new AWS.Endpoint('https://s3.sirv.com'),
  s3ForcePathStyle: true
});

var params = {
  Bucket: 'bucket', Key: 'key', Expires: 60
};

s3.getSignedUrl('getObject', params, function (err, url) {
  console.log('The URL is', url); // expires in 60 seconds
};

s3.getSignedUrl('putObject', {
  Bucket: 'ENTER_YOUR_SIRV_S3_BUCKET_HERE',
  Key: 'example.jpg'
}, function (err, url) {
  console.log(err, url);
});
In the script, getObject is used to obtain a signed URL that can then be used to download a file, while putObject is used to obtain a signed URL that can then be used to upload a file.
key will be the file name of the uploaded file once saved in your Sirv account.
Uploading a file
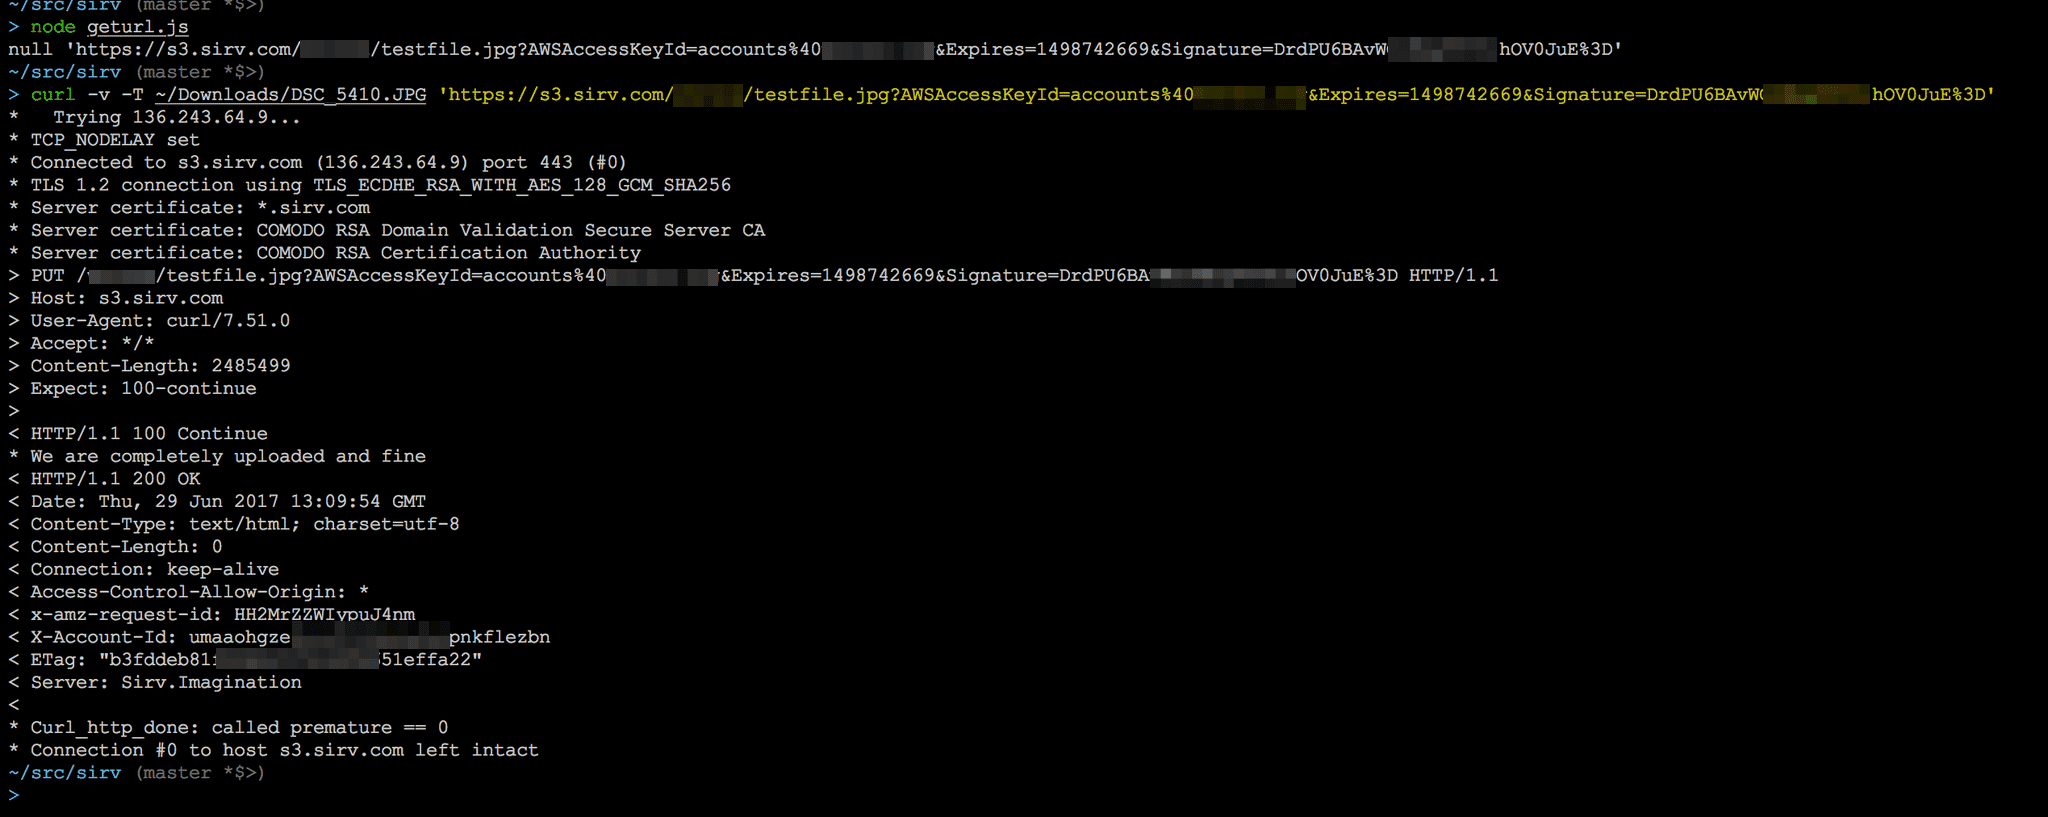
Once a URL has been generated, you can use it to upload a file with a utility such as curl:
curl -v -T ./DSC_5410.JPG 'https://s3.sirv.com/yoursirvaccount?AWSAccessKeyId=abcdefghij1234567890&Expires=123456789&Signature=zxywvutsr0987654321'
The screenshot below shows how it looks when a pre-signed URL is generated and then a local file is uploaded (located at ~/Downloads/DSC_5410.JPG) with the curl utility:
Additional parameters
Refer to the official AWS SDKs for additional parameters to your URLs: